Server Administration
This page covers network-related setups for restricting access, connecting to a remote Demucs service, routing downloads through a proxy, and monitoring the application.
Contents
- Restrict access to Guest Wi-Fi users
- Expose a remote Demucs service
- Use a proxy server for downloads
- Server Monitoring
Restrict access to Guest Wi-Fi users
The application is intended to run on a local network. By default, anyone connected to the same network can access it. Instead of connecting guests to the same LAN as personal computers, most home routers including ISP-provided routers can create an isolated Guest Wi-Fi network.
Guest Wi-Fi can also help restrict access to the karaoke application. Guests can access the application through the internet-facing address, while the reverse proxy allows only requests that originate from the home network.
Requires a public IP address and hairpin NAT
If the router does not support hairpin NAT, or the ISP uses CGNAT, use one of the remote access alternatives instead.
How this setup works
- Point a DNS record to the public IP address of the home network.
- Configure a reverse proxy to allow requests from the home subnet and deny other IP addresses.
- Connect guest devices to the isolated Guest Wi-Fi network.
With hairpin NAT, a request from Guest Wi-Fi to the public DNS address is sent through the router or gateway and back into the home network. From the reverse proxy's perspective, the request comes from the router, which is included in the allowlist. Requests from random internet users are denied.
This provides a strong access boundary for a home karaoke setup because guests must be physically present on the approved network to reach the application.
Configure the access-restricted page
The application includes an /access-restricted page that can display a message to denied users. You can also configure the reverse proxy to show a custom page.
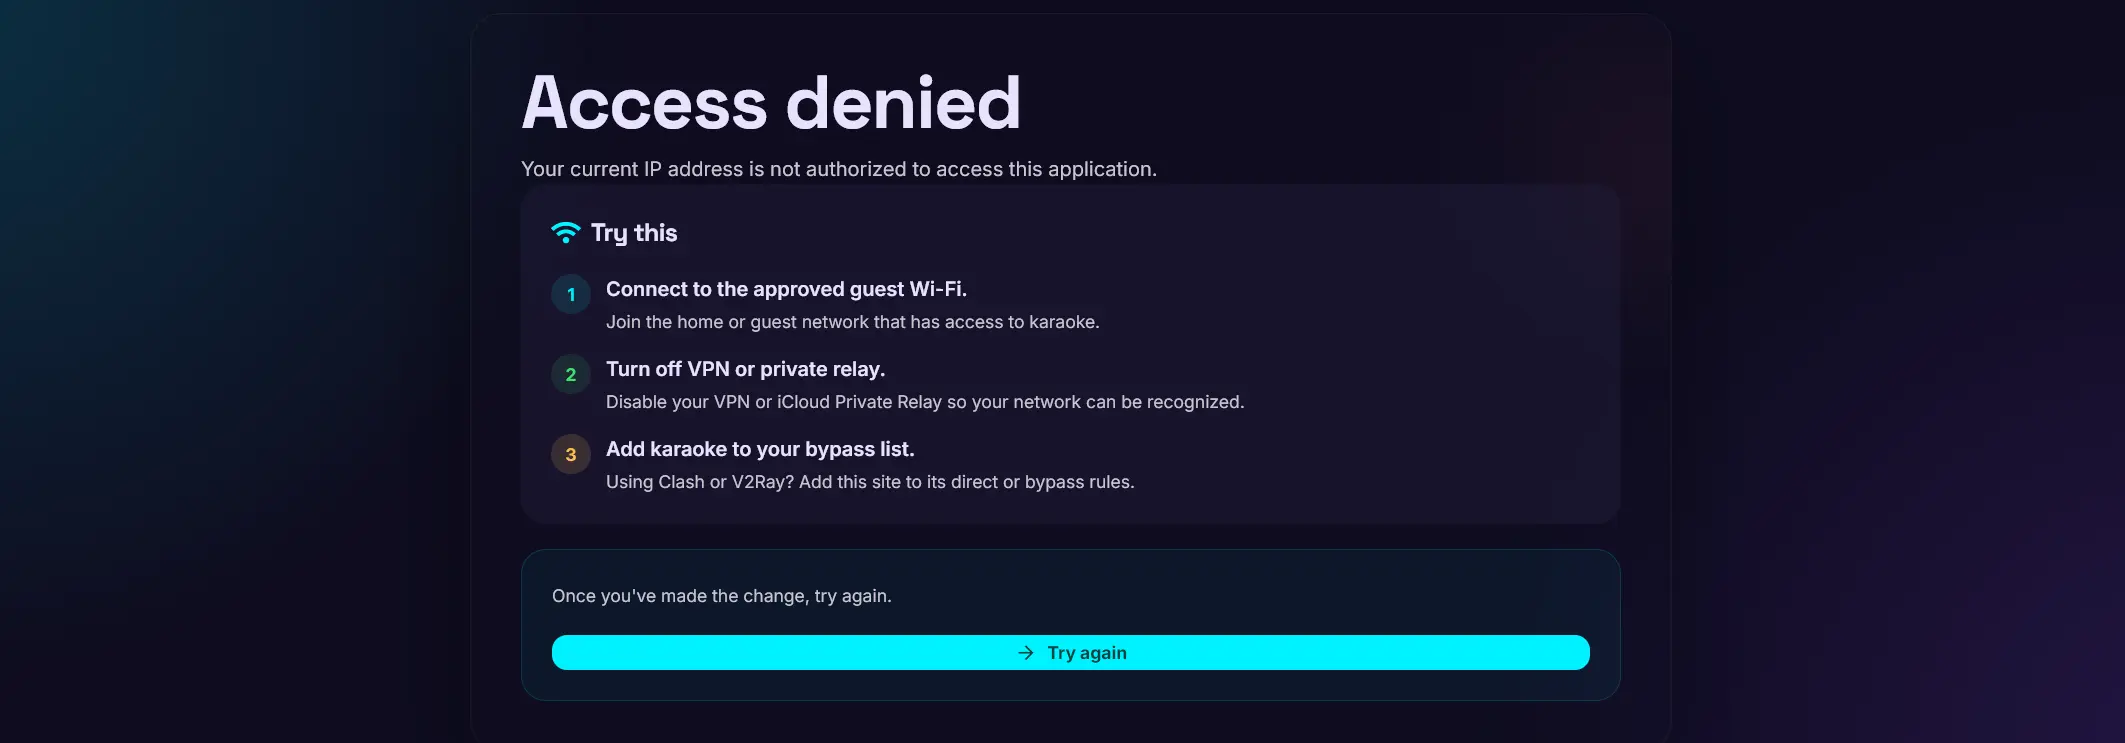
The general reverse proxy configuration should:
- Allow the home subnet and deny all other IP addresses.
- Forward allowed traffic to the karaoke application IP address and port.
- Explicitly allow all requests to
/access-restrictedand forward that path to the application. - Redirect reverse-proxy-generated
403responses to/access-restricted.
For example, in Nginx Proxy Manager, create an Access List, add the home subnet such as 192.168.0.0/24, allow it, deny all other addresses, and apply the list to the proxy host.
Nginx Proxy Manager custom Nginx configuration
location /access-restricted {
    allow all;
    proxy_pass http://<your-application-ip>:<your-application-port>;
    proxy_set_header Host $host;
    proxy_set_header X-Forwarded-For $remote_addr;
    proxy_set_header X-Forwarded-Proto $scheme;
}

error_page 403 = @handle_403;

location @handle_403 {
    # Replace with your destination URL or path.
    return 302 https://<your-karaoke-domain>/access-restricted;
}
Client address behind a reverse proxy
Uvicorn uses X-Forwarded-For and X-Forwarded-Proto only when the immediate peer is trusted. Set FORWARDED_ALLOW_IPS to the proxy's IP address as seen by the app, or to a CIDR range containing only trusted proxy peers. The default is 127.0.0.1, which usually does not match a Docker or remote proxy. Uvicorn does not use X-Real-IP. In Docker Compose, add the setting to the app's .env file; for a local launch, export it or pass --forwarded-allow-ips to Uvicorn. See the environment variable reference. Keep the app port private or restrict it to the proxy, and never use * when untrusted clients can reach the app directly.
Caddy configuration
Replace the hostname, application address, and home subnet with your own values. This example allows /access-restricted for everyone, allows the rest of the application only from the home subnet, and redirects other clients to the access-restricted page.
your-karaoke-domain.example {
    route {
        @access_restricted path /access-restricted*
        handle @access_restricted {
            reverse_proxy http://<your-application-ip>:<your-application-port>
        }

        @outside_home not remote_ip 192.168.0.0/24
        handle @outside_home {
            redir /access-restricted 302
        }

        handle {
            reverse_proxy http://<your-application-ip>:<your-application-port>
        }
    }
}
The remote_ip matcher checks the source address seen by Caddy. If another proxy or tunnel sits in front of Caddy, configure trusted proxies and confirm that the client address is preserved before relying on this allowlist.
This setup blocks all IP addresses outside the home subnet. Denied requests receive a 403 response and are redirected to /access-restricted, which remains available to everyone.
CGNAT and other network alternatives
The configuration above requires both hairpin NAT and a public IP address. If the ISP uses CGNAT, use a free VPS, Tailscale Funnel or Cloudflare Tunnel to handle the reverse proxy and access control. You may also need to update the reverse proxy allowlist when your WAN IP changes.
Expose a remote Demucs service
You can use a friend's computer with a GPU to run the Demucs service, or share your own GPU with them. The karaoke application must be able to connect to the remote Demucs service; Cloudflare Tunnel and Tailscale are two possible ways to provide that connection.
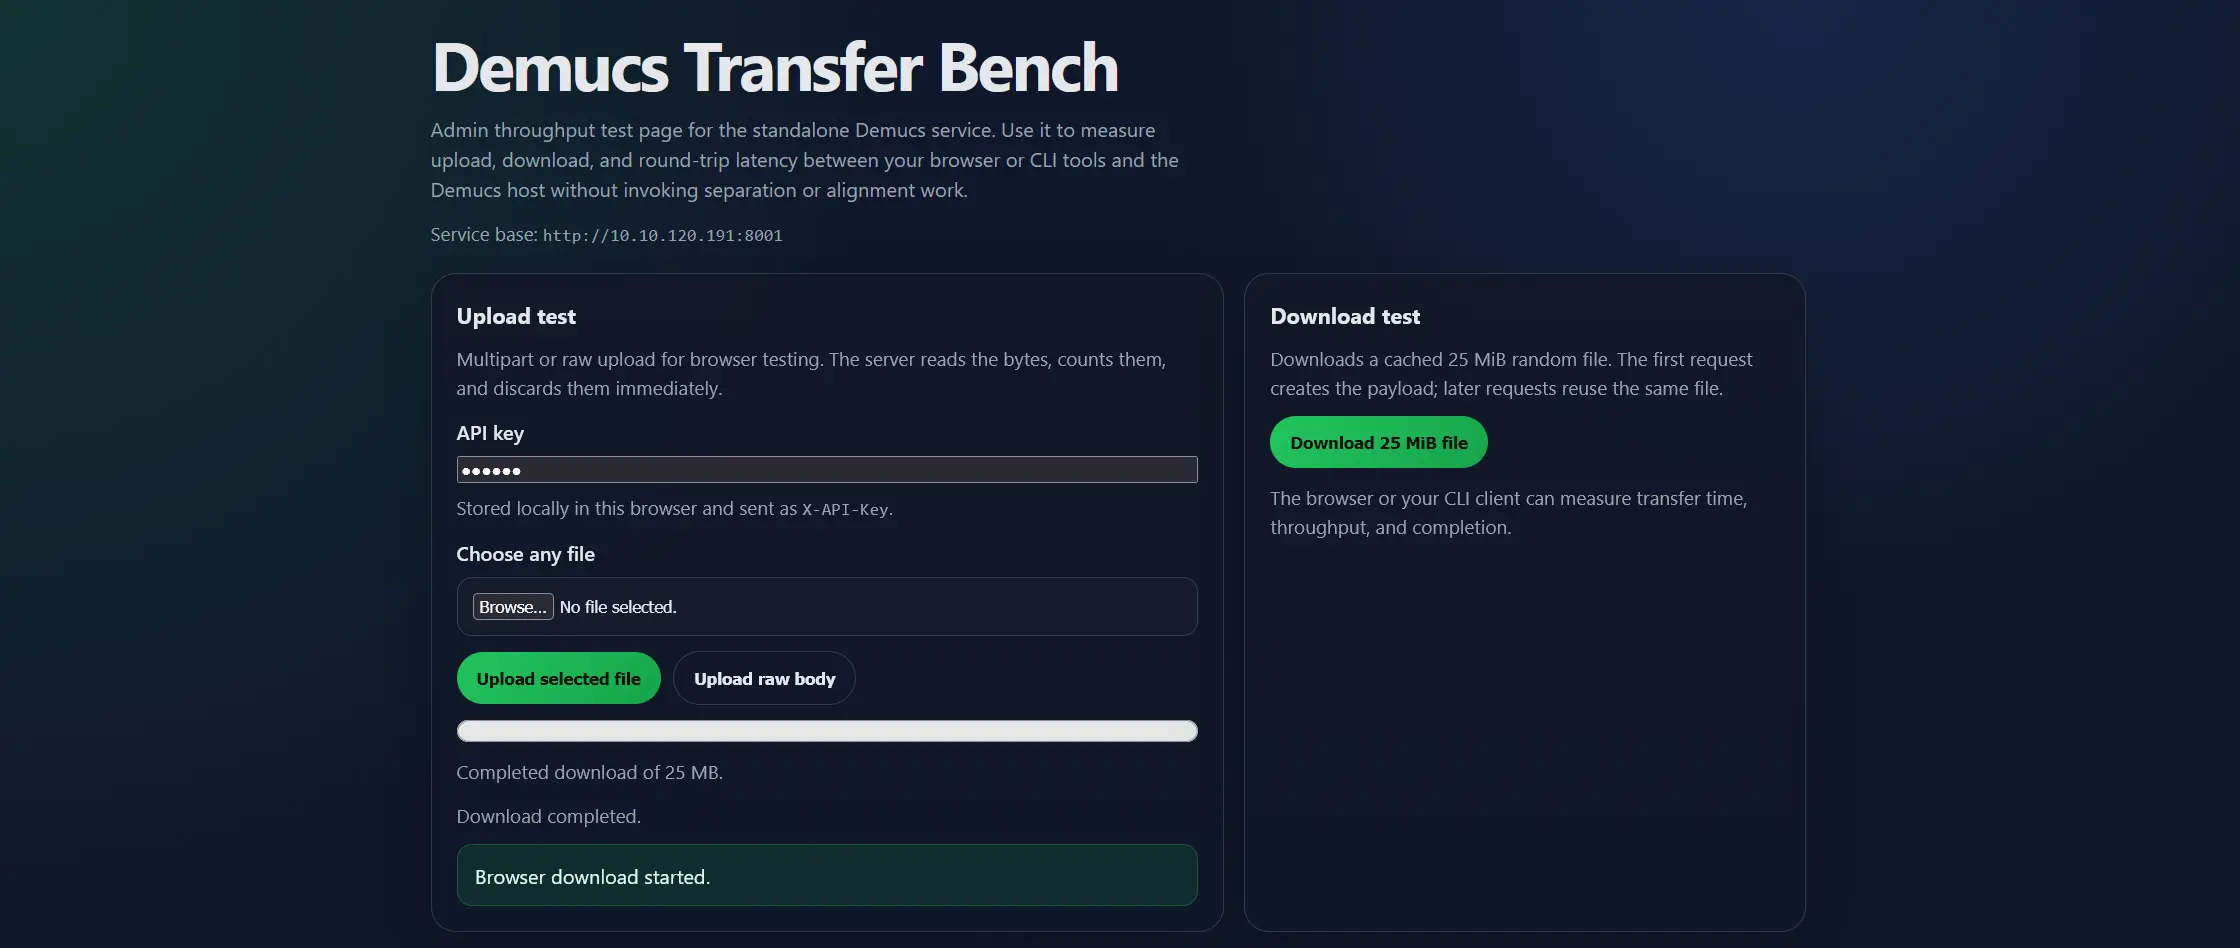
Performance depends heavily on both internet connections. Processing may be slower when a Tailscale connection is relayed. Use the Demucs /transfer speed-test page to check upload and download performance, then adjust the separation direct media cutoff accordingly.
Cloudflare Tunnel
Protect publicly exposed Demucs services
An API key is strongly recommended whenever the Demucs service is exposed on the internet. Configure the same key in the Demucs service and the Karaoke application, then test the connection with Check Demucs.
Cloudflare Tunnel can be used without registering a domain when a temporary random hostname is sufficient. Using your own domain requires a Cloudflare-managed domain and additional tunnel configuration, see Cloudflare Tunnel with Docker from Homelab Haven.
Install cloudflared
Use the official Cloudflare downloads page for the latest packages and binaries. The examples below install the connector; you still need to create a named tunnel and configure its hostname and origin in Cloudflare.
- Download the 64-bit MSI or executable from the Cloudflare downloads page.
- If you downloaded the executable, rename it to
cloudflared.exeand place it in a directory on yourPATH, such asC:\Cloudflared\bin. -
Open PowerShell and verify the installation:
Windows installations do not update automatically. Download a newer release manually when needed.
Install with Homebrew:
To install the connector as a macOS service after creating a named tunnel, use cloudflared service install for a login agent or sudo cloudflared service install for a launch daemon.
On Debian or Ubuntu, install from Cloudflare's package repository:
sudo mkdir -p --mode=0755 /usr/share/keyrings
curl -fsSL https://pkg.cloudflare.com/cloudflare-main.gpg \
  | sudo tee /usr/share/keyrings/cloudflare-main.gpg >/dev/null
echo "deb [signed-by=/usr/share/keyrings/cloudflare-main.gpg] https://pkg.cloudflare.com/cloudflared any main" \
  | sudo tee /etc/apt/sources.list.d/cloudflared.list
sudo apt-get update
sudo apt-get install cloudflared
cloudflared --version
For RPM-based distributions, Arch Linux, or direct binary downloads, use the official download instructions. After creating a named tunnel, install the systemd service with sudo cloudflared service install.
Pull the official image and verify it:
For a remotely managed tunnel, copy the installation command from the Cloudflare dashboard. A token-based Compose example is:
Create and run the tunnel
- In the Cloudflare dashboard, open Networking → Tunnels, create a tunnel, and choose
cloudflared. - Add a public hostname and point it to the local origin, such as
http://<your-application-ip>:8000for the karaoke application orhttp://<your-demucs-ip>:8001for Demucs. -
Run the connector, the command is:
-
Protect the Demucs endpoint with an API key and configure the same key in both services.
Quick tunnels are for testing only
A quick tunnel creates a random trycloudflare.com hostname without requiring a Cloudflare account. It is useful for a short connectivity test, but it is not suitable for production karaoke: Cloudflare documents a 200-request concurrency limit and no Server-Sent Events support.
Cloudflare CDN upload limit
Cloudflare CDN has a hard limit of 100 MB for file uploads. Set the separation direct media cutoff to 100 MB or lower. Otherwise, karaoke processing for larger video files will fail.
Tailscale
Tailscale creates a mesh network between the karaoke application and the remote Demucs service. Share your machine with other users when the Demucs host belongs to another person.
- Install Tailscale on both machines.
- Log in to the same account, or join the same tailnet.
- Find the Demucs service's Tailscale IP address in the admin console or with
tailscale status. - Set the application's separation service URL to the Tailscale IP address and port of the Demucs service.
- Test the connection and run the Demucs
/transferspeed test.
Tailscale works best with a direct connection. See the connection-type guidance and firewall guidance to improve direct connectivity.
Use a proxy server for downloads
The application supports a proxy server for downloading videos from YouTube. A proxy can help when a home network is temporarily blocked or rate-limited by YouTube.
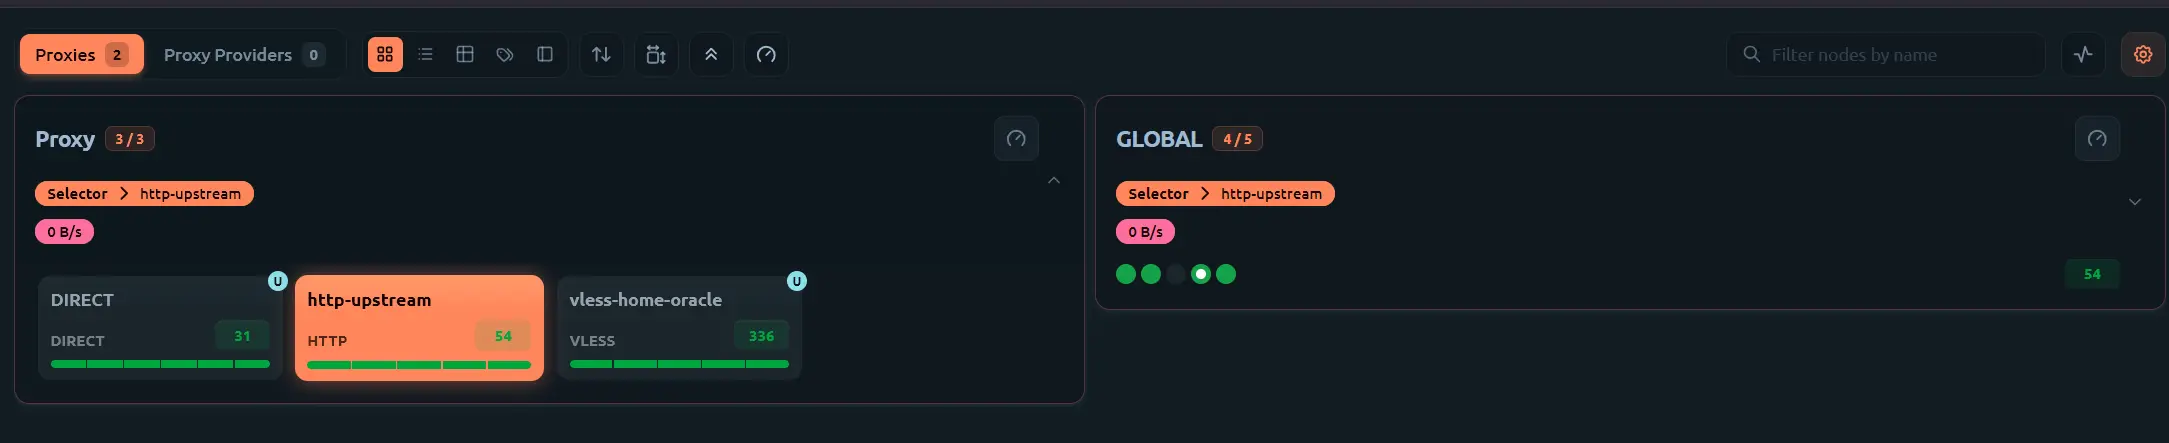
For more advanced routing, use a dashboard such as Mihomo with metacubexd to add, manage, and switch between multiple proxy servers.
Simple SOCKS5 proxy
Cloudflare WARP is one option for creating a proxy. The warproxy Docker image converts Cloudflare WARP into a SOCKS5 egress proxy.
Test a local SOCKS5 proxy with:
curl -4 -x socks5://localhost:1080 https://ifconfig.me
# A Cloudflare WARP proxy should return a 104.x.x.x IPv4 address.
To convert a commercial, WireGuard, or OpenVPN endpoint into a SOCKS5 proxy, see gluetun and its HTTP proxy configuration.
Mihomo and metacubexd
The application currently supports one configured proxy server and does not provide proxy switching or load balancing. Mihomo can provide those features without requiring the karaoke application's proxy setting to change.
Configure Mihomo with an HTTP proxy inbound, then add and manage multiple upstream proxy servers through its dashboard.
Mihomo and metacubexd basic setup
Example Docker Compose configuration:
services:
  metacubexd:
    image: ghcr.io/metacubex/metacubexd-server:latest
    restart: unless-stopped
    environment:
      CONTROL_TOKEN: change-me-control
      CLASH_SECRET: change-me-clash
      CONTROL_PORT: "8080"
      CLASH_API_PORT: "9090"
      MIXED_PORT: "7890"
      TZ: Asia/Shanghai
    ports:
      - "8080:8080" # Dashboard UI and control agent API.
      - "9090:9090" # Mihomo Clash API and WebSocket.
      - "7890:7890" # Mixed proxy port.
    volumes:
      - metacubexd-data:/data

volumes:
  metacubexd-data: {}
Review the Mihomo configuration and add your proxy servers. A basic example is:
external-controller: 0.0.0.0:9090
secret: change-me-clash
mixed-port: 7890
allow-lan: true
mode: rule
log-level: info
ipv6: false
proxies:
  - name: Proxy1
Open http://<your-server-ip>:8080 and use change-me-clash to access the dashboard. Replace all example secrets before using this configuration.
After configuring the proxy, switch to another proxy server from the metacubexd dashboard if a yt-dlp download fails. The karaoke application's proxy setting does not need to change.
Server Monitoring
For the main application, you can identify issues or misconfigurations by checking the logs.
If you run the application with uvicorn in the foreground or in a tmux session, its logs are shown in the terminal.
For Linux with systemd, use:
For Docker, use:
The application also logs the specific yt-dlp download commands, which can help trace download failures.
For the Demucs service, relevant Demucs and WhisperX logs are shown in the terminal. For example:
2026-09-12 14:43:34 - whisperx.asr - INFO - No language specified, language will be detected for each audio file (increases inference time)
2026-09-12 14:43:34 - whisperx.vads.pyannote - INFO - Performing voice activity detection using Pyannote..
2026-09-12 14:43:39 - whisperx.asr - INFO - Detected language: en (0.88) in first 30s of audio
started inference
Inference time for segment 0: 0.78 seconds
The Demucs service also exposes a /metrics endpoint that you can monitor with an external tool.
{"service":"demucs","snapshot_at":"2026-09-12T21:58:47.346862+00:00","active_job_count":0,"running_job_count":0,"active_job_counts_by_status":{},"active_job_counts_by_kind":{},"free_vram_bytes":11013193728,"total_vram_bytes":12878086144,"last_gc_at":"2026-09-12T21:48:58.140879+00:00","last_gc_mode":"full","last_gc_detail":"Released WhisperX caches and CUDA memory","active_jobs":[]}
On Windows, the best way to monitor the application or debug stuck jobs is to use Task Manager and check the GPU graph for VRAM and GPU usage.
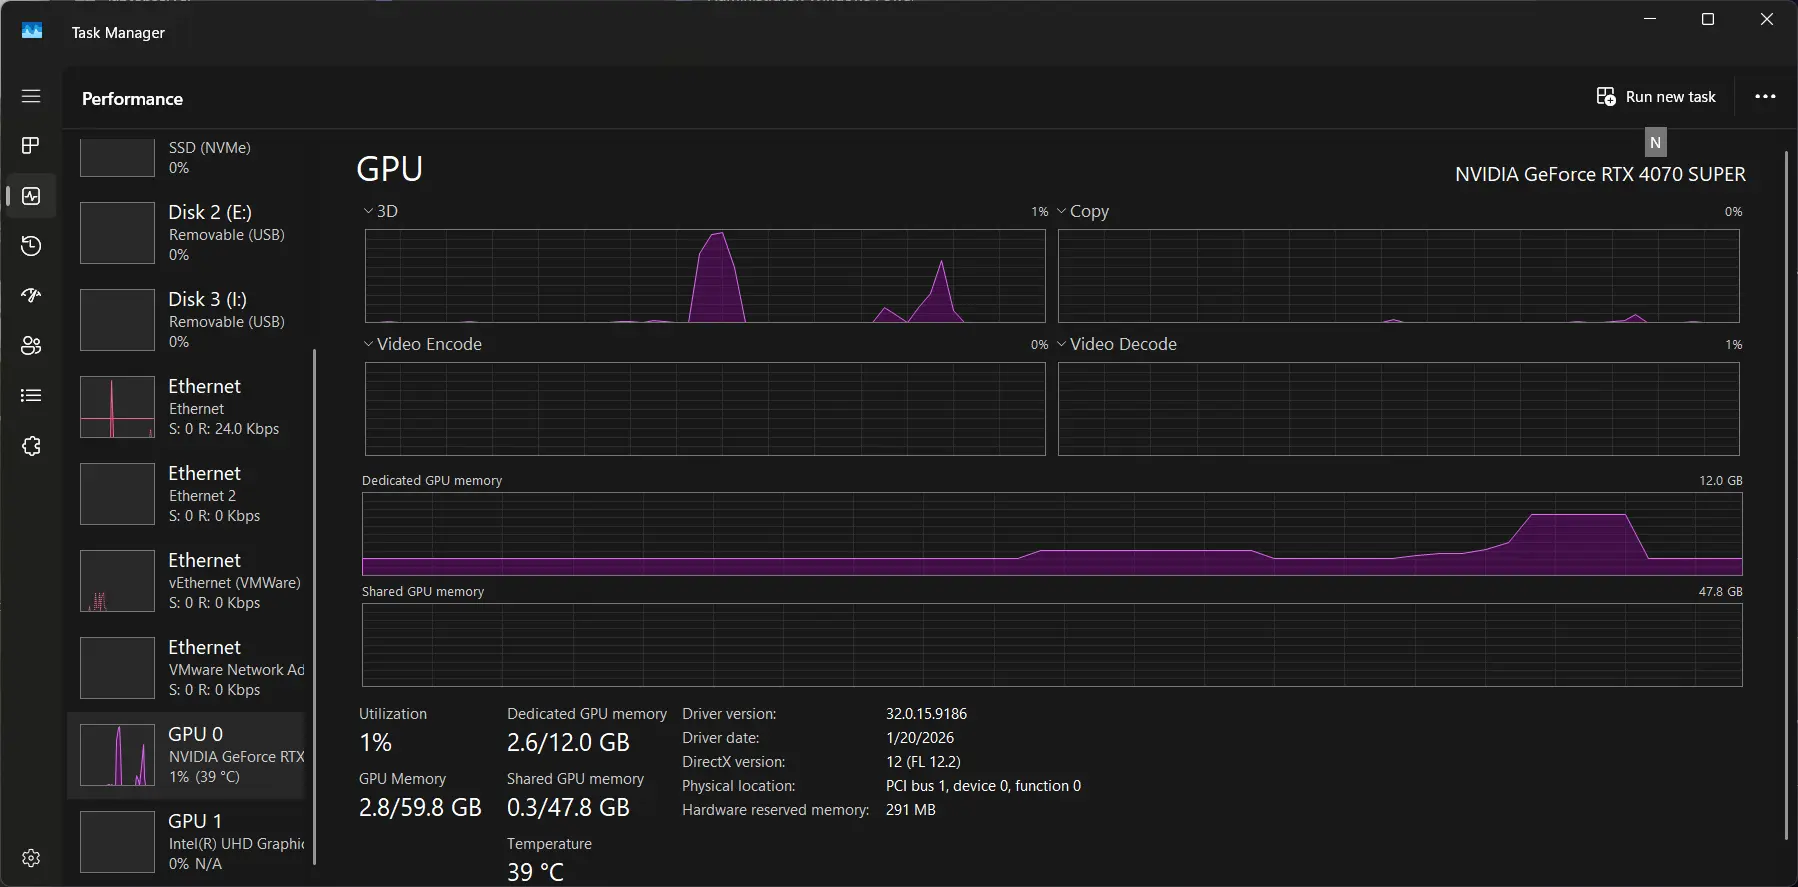
Task Manager is not available on a phone. For this use case, use RustDesk to remotely access the Windows desktop.